In our previous post, we explored the basics of iOS accessibility and how to make your User Interface compatible with VoiceOver and other assistive technologies. Today, we will delve into more advanced topics, such as managing VoiceOver gestures. With VoiceOver, users have access to several pre-defined system gestures that facilitate interaction with the user interface. In this post, we will examine some examples of these gestures. So, let's dive right in!
Exit gesture
VoiceOver users can use two fingers in a Z gesture to go back to the previous screen or close the modal window. If you are using Storyboard Segues or UINavigationController you will get this behavior out of the box. In the case of custom navigation logic or showing UIViewController as modal you have to handle it yourself. Here is a simple example of how to do it.
  import UIKit

class ViewController: UIViewController {
    override func accessibilityPerformEscape() -> Bool {
        dismiss(animated: true)
        return true
    }
}
As you can see we override accessibilityPerformEscape method to dismiss ViewController manually and return true to indicate that this action is handled.
Magic tap
Another interesting gesture provided by VoiceOver is Magic Tap. It’s performed by tapping the screen with two fingers. Apple recommends using Magic Tap for the main action of the app, like play/pause for a music player or answering calls in the phone app. You can handle this action by overriding accessibilityPerformMagicTap method in your UIViewController implementation, as before you have to return true, in case of action properly handled.
Increment and decrement gestures
We discussed accessibility traits in the previous post, the most commonly used ones being StaticText and Button traits, but another useful trait is UIAccessibilityTraitAdjustable. It is a default trait for UISlider and other adjustable views. Views which have this trait must override accessibilityIncrement and accessibilityDecrement methods to handle these gestures. A VoiceOver user can increment/decrement the adjustable value by interacting with swipe up/down gestures. Let’s dive into example code.
  import UIKit

class RatingView: UIView {
    private(set) var value: Int = 1

    override var accessibilityTraits: UIAccessibilityTraits {
        get { return .adjustable }
        set {}
    }

    override var accessibilityLabel: String? {
        get { return "Rating" }
        set {}
    }
    override var accessibilityValue: String? {
        get { return String(value) }
        set {}
    }

    override func accessibilityIncrement() {
        value += 1
    }

    override func accessibilityDecrement() {
        value -= 1
    }
}
This is a simple RatingView which handles increment and decrement gestures which helps to VoiceOver user feed rating input. Firstly, we define the adjustable trait, then we handle accessibilityValue by returning private value variable. Handling swipe up/down gestures implemented by simple value increment/decrement.
Rotor navigation
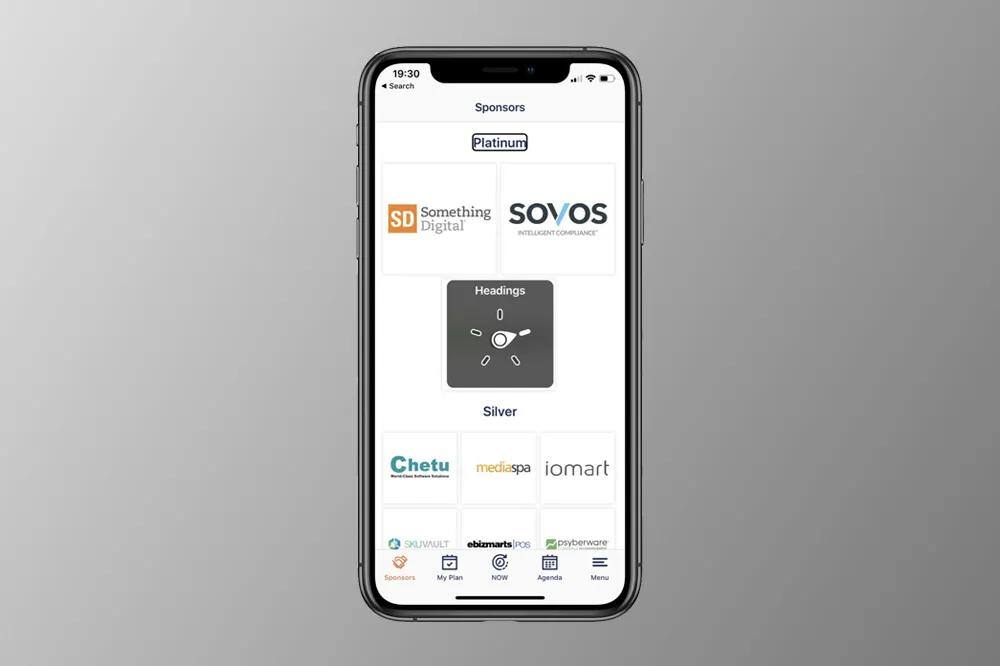
Another powerful user interaction tool provided by VoiceOver is Rotor navigation. The VoiceOver user can switch to Rotor navigation by using a two-finger rotation gesture on an iOS device screen, and keep rotating to change the type of rotor navigation. There can be many rotor options like heading, container, map pins, etc.
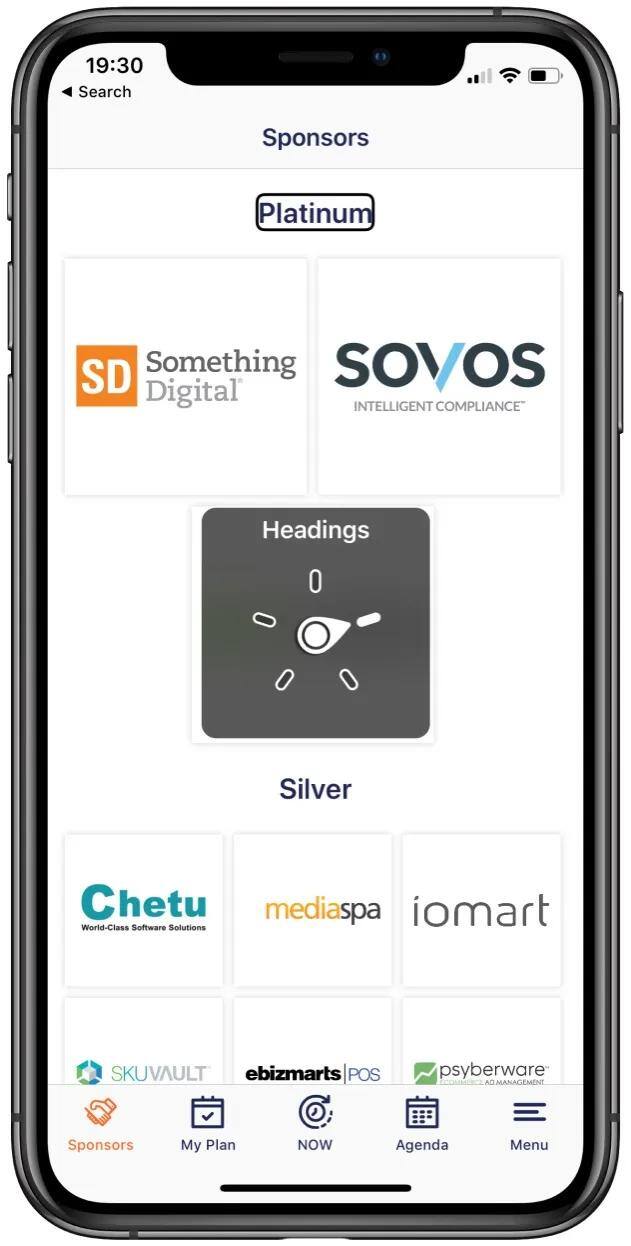
While rotor navigation-activated users can navigate and focus VoiceOver through the selected type of navigation by ignoring other elements. For example, in the case of headings rotor selected, the user can use swipe up/down to move VoiceOver focus between heading. VoiceOver recognizes headings by special trait header.
  class SectionHeader: UICollectionReusableView {
    override func awakeFromNib() {
        super.awakeFromNib()
        accessibilityTraits.insert(.header)
    }
}
It is super easy to implement rotor navigation with headers, all you need is to add the header trait to your section view and this will automatically implement rotor navigation.
Today we discussed the main gestures provided by VoiceOver. Apple uses these gestures in all system apps, so our user expects the same behavior in third-party apps too. It is quite straightforward to make your app accessible and interactive at the same time, so don’t hesitate to start making your app accessible for everybody.
Check out Part 1, where I described the basics of Accessibility API.

