
In this post, I will demonstrate some practices that can make your app more accessible to VoiceOver users. VoiceOver is a feature that provides spoken descriptions and braille output of onscreen elements, making it an essential tool for users with visual impairments. But VoiceOver's benefits go beyond just improving the experience for visually impaired users. By encouraging the use of VoiceOver, you can support the majority of accessibility tools that rely on the same Accessibility API. Additionally, supporting VoiceOver can also facilitate UI testing, as it is also based on the same API. So, let's dive into some of these practices and explore how they can make your app more accessible to all users.
How to implement it?
Generally, your app will already be supporting VoiceOver, because every UIKit component implements UIAccessibility protocol, which is the root type in Accessibility API. The protocol contains several properties which VoiceOver uses to identify, read and act with your User Interface, and I will be describing some of them below.
  protocol UIAccessibility: AnyObject {
  var isAccessibilityElement: Bool { get set }
  var accessibilityTraits: UIAccessibilityTraits { get set }
  var accessibilityLabel: String? { get set }
  var accessibilityValue: String? { get set }
}
isAccessibilityElement indicates to VoiceOver whether this element should be read to the user or should be ignored by the system.
accessibilityLabel describes the current control’s content label. This label should be read by VoiceOver.
accessibilityValue describes the value of the control. For example, this property is used by UISlider and UIStepper to show the currently selected value.
accessibilityTraits specifies actions and helps communicate to users how they can interact with this component. For instance, UILabel has a static Text trait which means this element can’t interact, and VoiceOver can only read this component’s content. UIButton has a button trait which means the user can tap on it and cause some response.
If you are using Interface Builder to create the UI you can edit these properties in Identity Inspector, enable VoiceOver on your phone and run the app to check out what you have out of the box. In the case of creating your UI via code, you have to enable isAccessibilityElement property manually for views which you want to be accessible.
Grouping accessibility elements
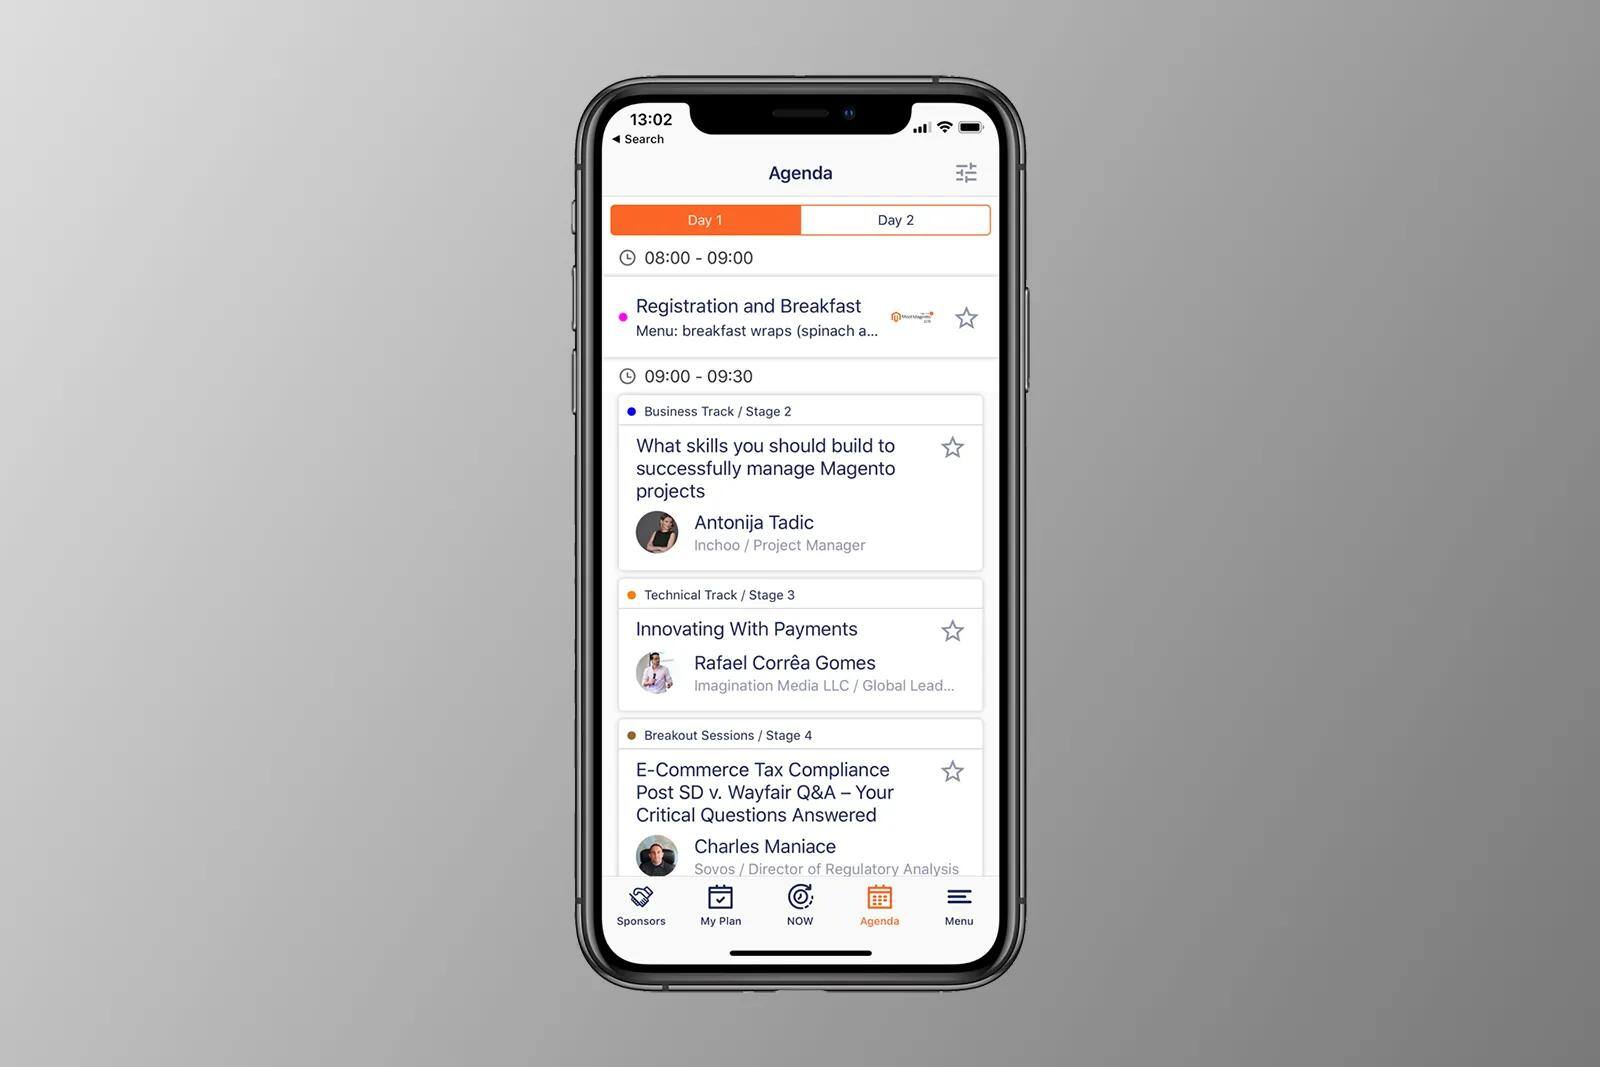
Sometimes it’s helpful to group UIKit controls into the single accessibility element on which VoiceOver will act as a single component. For example, let’s take a look at our Meet Magento conference app, where we have an agenda with the list of presentations and breaks for every day of the conference.
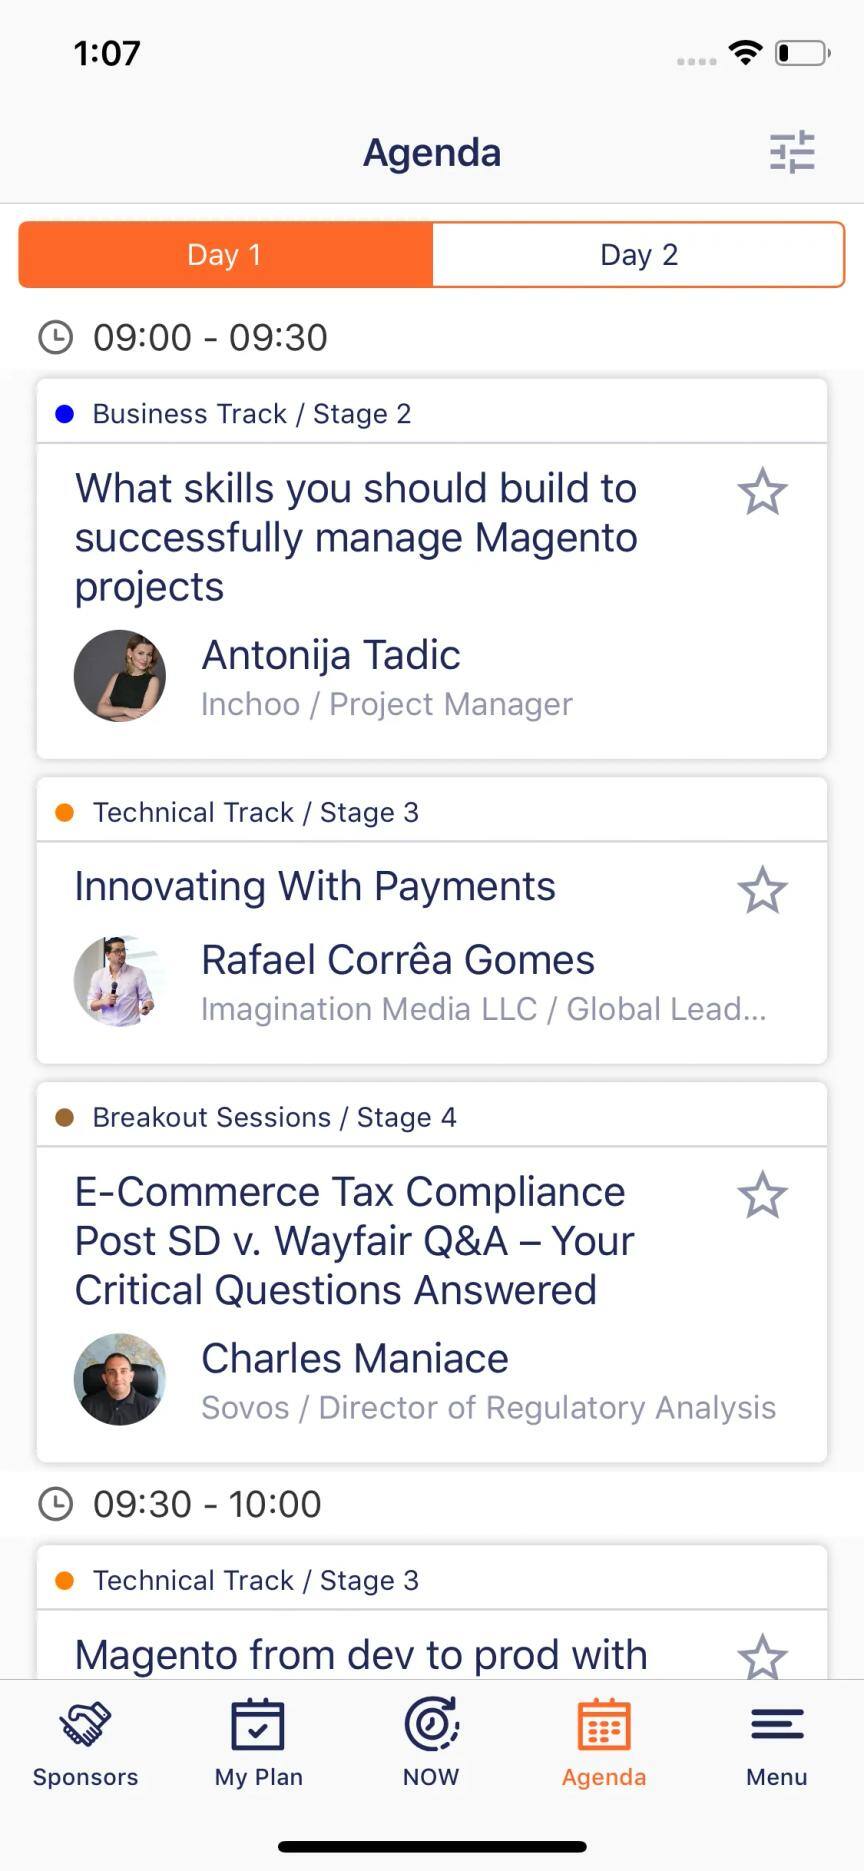
Here we have UITableView populated with PresentationCells. In the case of PresentationCell,we want VoiceOver to focus and act on entire the cell and not on every label inside. To achieve this we have to enable isAccessibilityElement on the cell itself which will disable accessibility for every control inside. Let’s dive into the code sample:
  class PresentationCell: UITableViewCell {
    var viewModel: PresentationViewModel? {
        didSet {
            accessibilityLabel = viewModel?.label
            accessibilityValue = viewModel?.value
        }
    }

    override func awakeFromNib() {
        super.awakeFromNib()
        isAccessibilityElement = true
        accessibilityTraits = .button
    }
}
We enable accessibility in awakeFromNib method and we also set the trait to button, as this will help VoiceOver to understand that the cell is clickable.
Every cell in our app has a ViewModel which formats data for the cell. To specify which data should be used by VoiceOver, we create an Accessible protocol which is implemented in PresentationViewModel.
  struct PresentationViewModel {
    let title: String
    let summary: String
    let date: String

    init(presentation: Presentation) {
        title = presentation.title
        summary = presentation.summary
        date = DateFormatter.short.string(from: presentation.date)
    }
}

protocol Accessible {
    var label: String { get }
    var value: String? { get }
}

extension PresentationViewModel: Accessible {
    var label: String { return title }
    var value: String? { return "\(summary), \(date)" }
}
As you can see, the Accessible protocol gives us the opportunity to define VoiceOver data without mixing formatting logic and accessibility logic. As soon as the cell is focused by VoiceOver, it will read to the user this phrase: “\(label). \(value). Button.”
In future posts, I will show you how to handle accessibility gestures in custom views and how to implement Custom Rotors navigation.
Thanks for reading this post. Now it’s time to work on making your own projects accessible!