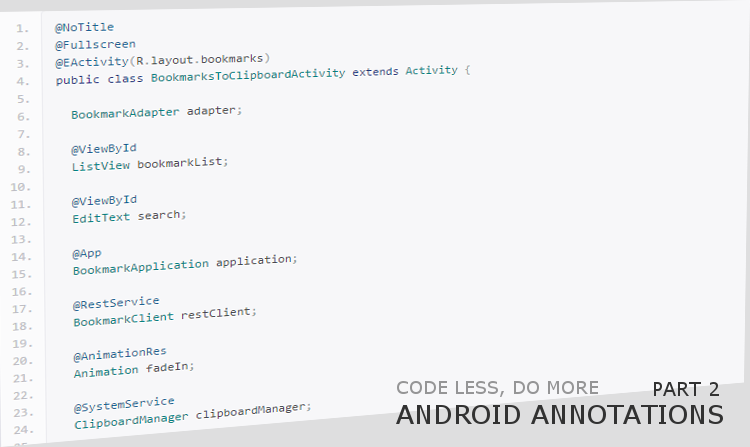
Welcome to Part 2 of Making life easier with Android Annotations. This time we’ll have a look on the ways of using Fragments along with AndroidAnnotations. Anyone who used Android fragments, know how painful it is to create them with arguments that needs to be passed to each instance (to set them to our wish). Obtaining reference to specific fragments wasn’t also the easiest thing to do. AndroidAnnotations – again – provide simple and fast solutions to this special cases.
For these particular example we’ll create the CorridorFragment, a simple fragment that tells us if we have a draft in our windows, or not. It’s purpose is purely to show how easy it is to use fragments with AndroidAnnotations.
Fragment builder
Yup, as lovely as it sounds, it’s actually true. Instead of using hundred lines of code and multiple constructors, the Builder Pattern was used to allow us to quickly create fragments.
I’m sure you’re familiar with the necessity of calling the:
public static CorridorFragment newInstance(int index, String fragmentTitle) {
   CorridorFragment f = new CorridorFragment();
   Bundle args = new Bundle();
   args.putInt("index", index);
   args.putString("fragmentTitle", fragmentTitle);
   f.setArguments(args);
   return f;
}
and then receiving the parameters from bundle once again in fragment.onCreate to actually set the field values. Brace yourselves, as with AndroidAnnotations we can simply do the following:
CorridorFragment corridorFragment = new CorridorFragment()_.builder().fragmentTitle("Our Fragment Title").index(1).build();Where builder parameters are simply names of the Fragment class fields, annotated with @FragmentArg . Absolutely fantastic solution :) It’s important to note that we should access the class with underscore suffix, for the same reasons as explained in Part 1. If we won’t use a particular field in the builder chain, it’s value will simply fall-back to the field declared value (ie. “Default Title”).
So in this case our little fragment would look like this:
public class CorridorFragment extends Fragment {
   @FragmentArg
   int index = 0;

   @FragmentArg
   String fragmentTitle = "Default Title";
}
Please note that fragments created by builder, has to be added to the view in classic Android way, which is by defining it in activity_main.xml:
<LinearLayout xmlns:android="http://schemas.android.com/apk/res/android" android:orientation="vertical" android:layout_width="match_parent" android:layout_height="match_parent" >
   <FrameLayout android:id="@+id/programaticallFragment" android:layout_width="match_parent" android:layout_height="wrap_content" />
</LinearLayout>
And then in Activities onCreate method, calling builder and fragment transaction:
CorridorFragment corridorFragment = new CorridorFragment()_.builder().fragmentTitle("Our Fragment Title").index(1).build();
FragmentManager fm = getSupportFragmentManager();
FragmentTransaction ft = fm.beginTransaction();
ft.replace(R.id.programaticallFragment, corridorFragment);
ft.commit();
Fragment layouts
Ok, so we have our programaticall fragment created, but we want to fill it up with some views, and assign an xml layout file to it. Again we’ll use handy annotation, similar to @EActivity, but this time, we’ll go with @EFragment. Normally we would use the onCreateView fragment method to inflate proper xml layout to fragment, and return the View in the method. You know it yourself.
How about shortening layout inflation to one line of code, where we specify xml layout file:
@EFragment(R.layout.corridor_fragment)
public class CorridorFragment extends Fragment {
   @FragmentArg
   int index = 0;

   @FragmentArg
   String fragmentTitle = "Default Title";

   @ViewById(R.id.tv_fragment_title)
   TextView tvFragmentTitle;

   @AfterViews
   public void afterViews() {
      tvFragmentTitle.setText(fragmentTitle);
   }
}
If you’d like to use the onCreateView method to access savedInstanceState, feel free to override it as usual, just remember to return null:
public View onCreateView(LayoutInflater inflater, ViewGroup container, Bundle savedInstanceState) {
   //Do whatever you want with savedInstanceState

   //And then:
   return null;
}
In the class definition above, we also used the well-know from Part 1 @ViewById annotation, that is used to display the fragmentTitle state. So how should we fill tvFragmentTitle TextView with actual string? Normally we would wait for the onViewCreated call, and set it there. Same is true for AndroidAnnotations, however we have a handy shortcut: @AfterViews annotation, that is called after Views were created. Pretty straight-forward implementation.
For full list of available annotations, check this link.
Fragment injection
If we have fragment that is already created, and we want to inject it to our activity (or in other words – get a reference to it), there are couple of ways to do that. First of all, we need to remember that these calls won’t create fragments, so the fragments needs to be created programatically in onCreate or by defining them in activity_main.xml!
For this example we create in activity_main.xml a corridorFragment fragment:
<fragment android:id="@+id/corridorFragmentView" android:name="pl.snowdog.androidannotationstest.CorridorFragment_" android:layout_width="match_parent" android:layout_height="wrap_content" />Then we can get handle to the fragment, by simply calling:
@FragmentById(R.id.corridorFragmentView)
CorridorFragment corridorFragment;
or if we added a tag to the fragment, we use:
@FragmentByTag("TagName")
MyFragment myFragmentTag;
However AndroidAnnotations authors discourage the usage of latter solution, as it’s never validated on compilation time.
No more using of FragmentManager to access desired fragments, everything can be done from the Annotations level.
Short summary
Today we learned how to quickly build and instantiate fragments, along with layout injections, and injection of fragments itself to Activities. We found that using AndroidAnnotations can truly speed up coding, along with it’s readability and later maintenance needs.
Working example of the classes we created today can be found on our git repository: https://github.com/SnowdogApps/AndroidAnnotations-Sample-App
Happy coding guys.
See you all in the next part of our dev blog!


