Anyone who developed Android applications, knows how easy it is to end up with boilerplate code. Accessing resources, creating services, inflating layouts, instantiating fragments, running separate threads, registering click listeners, it all requires many lines of code. But hey, there’s a great solution to this issue! With AndroidAnnotations (that heavily utilises annotations systems) we’re able to achieve more readable, fast to develop and very maintanable code base.
In this article we’ll show you how to write less and do more using AndroidAnnotations, and hopefuly show you the benefits of using it.
Setup
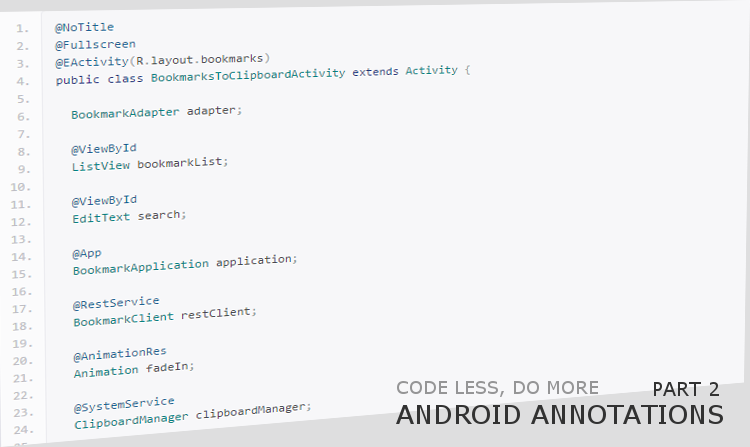
Setting up AndroidAnnotations is pretty easy. We just need to remember to add Android-apt to our dependencies, and configure gradle file. It’s also worth to keep in mind, that every Activity needs to be registered in the manifest with “_” suffix. So .MainActivity becomes .MainActivity_ . It’s due to the fact that AndroidAnnotations generates subclass of each Activity with “_” in it’s name. Detailed instructions of configuration on various build systems (and IDE’s) can be found here .
Sample application
It’s spring time, so we often need to open or close windows to keep proper air flow. We’ll write simple mock app that allows us to open and close windows at our home. The idea is just to show how it can be done using AndroidAnnotations. The app source code is available at github here .
The app will do the following:
1. The app allows to send signal to the window to open or close it. 2. Communication with windows will run in the background thread. 3. It’s result (was window closed / opened) will be published using OttoBus. 4. In addition to controling single windows, there are two buttons that will open / close all windows at once. 5. After publishing the results, we will update our app with new windows statuses in the UiThread.
Quite simple, but even such small app can give us some great insights on usage of AndroidAnnotations. Let’s start.
Main Activity
Our main activity handles UI input and updates, Window classes instantiation (using @Bean annotations), and Bus event handling. Injection of the views (normaly handled via setViewContent in onCreate) is as easy as adding the @EActivity annotation:
@EActivity(R.layout.activity_main)
public class MainActivity extends ActionBarActivity { ...
Having our views ready, we can now create references to object we’re going to use in our activity. It’s as simple as using proper annotations:
@ViewById(R.id.window1image)
ImageView ivWindow1;

@ViewById(R.id.window1toggle)
Button btnWindow1Toggle;

@ViewById(R.id.window2image)
ImageView ivWindow2;

@ViewById(R.id.window2toggle)
Button btnWindow2Toggle;

@Bean
Window window1;

@Bean
Window window2;

@StringRes
String open;

@StringRes
String close;

@Bean
OttoBus bus;
Note that referencing the View by the @ViewById(id) annotation, already creates the actual reference to the view. There’s no need to call the :
<del>btnWindow1Toggle = (Button)findViewById(R.id.window1toggle)</del>part anymore. AndroidAnnotations does that under the hood for us.
Another very handy part is creating Beans (enhanced classess). If a class is declared with @EBean annotation (like our Window class, which will get to in a moment), we can easily instantiate it just by usign the @Bean annotation. Yup, it means that we have the window1 and window2 instances ready to use in the code!
We also used the @StringRes annotation, which basicaly fills our String open / close objects, with corresponding string resource from XML.
Our string.xml has part :
<resources>
   ...
   <string name="open">OPEN</string>
   <string name="close">CLOSE</string>
   ...
</resources>
That is being mapped by variable name, to the String object. If we’d like to create longer string resource name, like “notify_message”, we would just have to name the variable with Camel Case name:
@StringRes
String notifyMessage;
And the string resources are ready to be used within the code. There are various annotations to be used for other xml resources like Animations (@AnimationRes), Drawables (@DrawableRes) and so on.
Last part of variable declaration instantiates our OttoBus, which is going to be used to notify the Activity about the outcome of ours open / close instruction sent to the Windows.
In order to open and close Windows, we need to have some kind of Click Listeners attached to our buttons. How can we do that with AndroidAnnotations?
@Click(R.id.window1toggle)
void window1Toggle() {
   window1.toggleWindow();
}
That’s it! No more calls for button.setOnClickListener(listener). Annotating method with the @Click, marks it as event that will be fired on the click event.
Very handy shortcode indeed.
Our app sends the imaginary signal to the windows at our home, and then gets notified with OttoBus, about the result of the operation. Obtaining the result from OttoBus is handled with @Subscribe annotation:
@Subscribe
public void onWindowOperationFinished(OnWindowOperationFinishedEvent event) { ... updateWindowsViews() ... }
Last part of our MainActivity handles updating the views after successfull (or not) changing of the window state. As we all know, android views has to be changed from the UIThread, never from the background thread. To force method to run on UIThread, we add simple annotation, and the method will run on the thread we want:
@UiThread
void updateWindowViews(Window w, Button btn, ImageView ivWindow) {
   if(!w.isOpened()) {
      btn.setText(open);
   } else {
      btn.setText(close);
   }

   fadeInWindow(w, ivWindow);
   ivWindow.setImageDrawable(w.getStatusDrawable());
   ivWindow.requestLayout();
   btn.requestLayout();
}
That’s it. MainActivity class is ready with just few lines of code.
Window Class
The window class is declared as an @EBean, which we then access in the Main Activity. It looks like this:
@EBean
public class Window { ...
Later referencing the variable with @Bean annotation creates new class instance.
What is interesting in the Window class, is the actual open / close windows signal handling. In real-life situation, sending signal to the window would have to be done in separate Thread. How can we do this with AndroidAnnotations? You guessed it! If there’s @UiThread annotation, there’s a second one – @Background annotation. It creates separate thread, and runs the body of the method in it.
@Background
public void openWindow() {
   boolean isChangeState = false;
   if(!isOpened) {
      isChangeState = true;
      isOpened = true;
   }
   postResult(isChangeState);
}
This method sends our imaginary open window signal via background thread, and then post it result to the OttoBus.
OttoBus have to send its event in the UiThread, so our postResult method looks like this:
@UiThread
void postResult(boolean isChangeState) {
   bus.post(new OnWindowOperationFinishedEvent(this, isChangeState));
}
And the event is then received via @Subscribed method onWindowOperationFinished from MainActivity.
AndroidAnnotations? Yes!
Our little sample app shows how with help of AndroidAnnotations, we can shorten our code base, and keep it much more readable for new developers. It’s realy elegant, easy to use and pace driving solution for everyone that’s into Android development.
In my opinion, this is the way Android app development should look from the very beginning, without tons of spaghetti code, which very often arises during coding. If you find yourself struggling with to big code base, AndroidAnnnotations is for you. Just give it a try, you won’t regret it.
Coming up next
It’s not over. In the next episode of AndroidAnnotations – code less, do more, we will take a closer look at Fragments creation, Intents, and passing parameters. It’s realy fun to do with AndroidAnnotations! Stay tuned :)